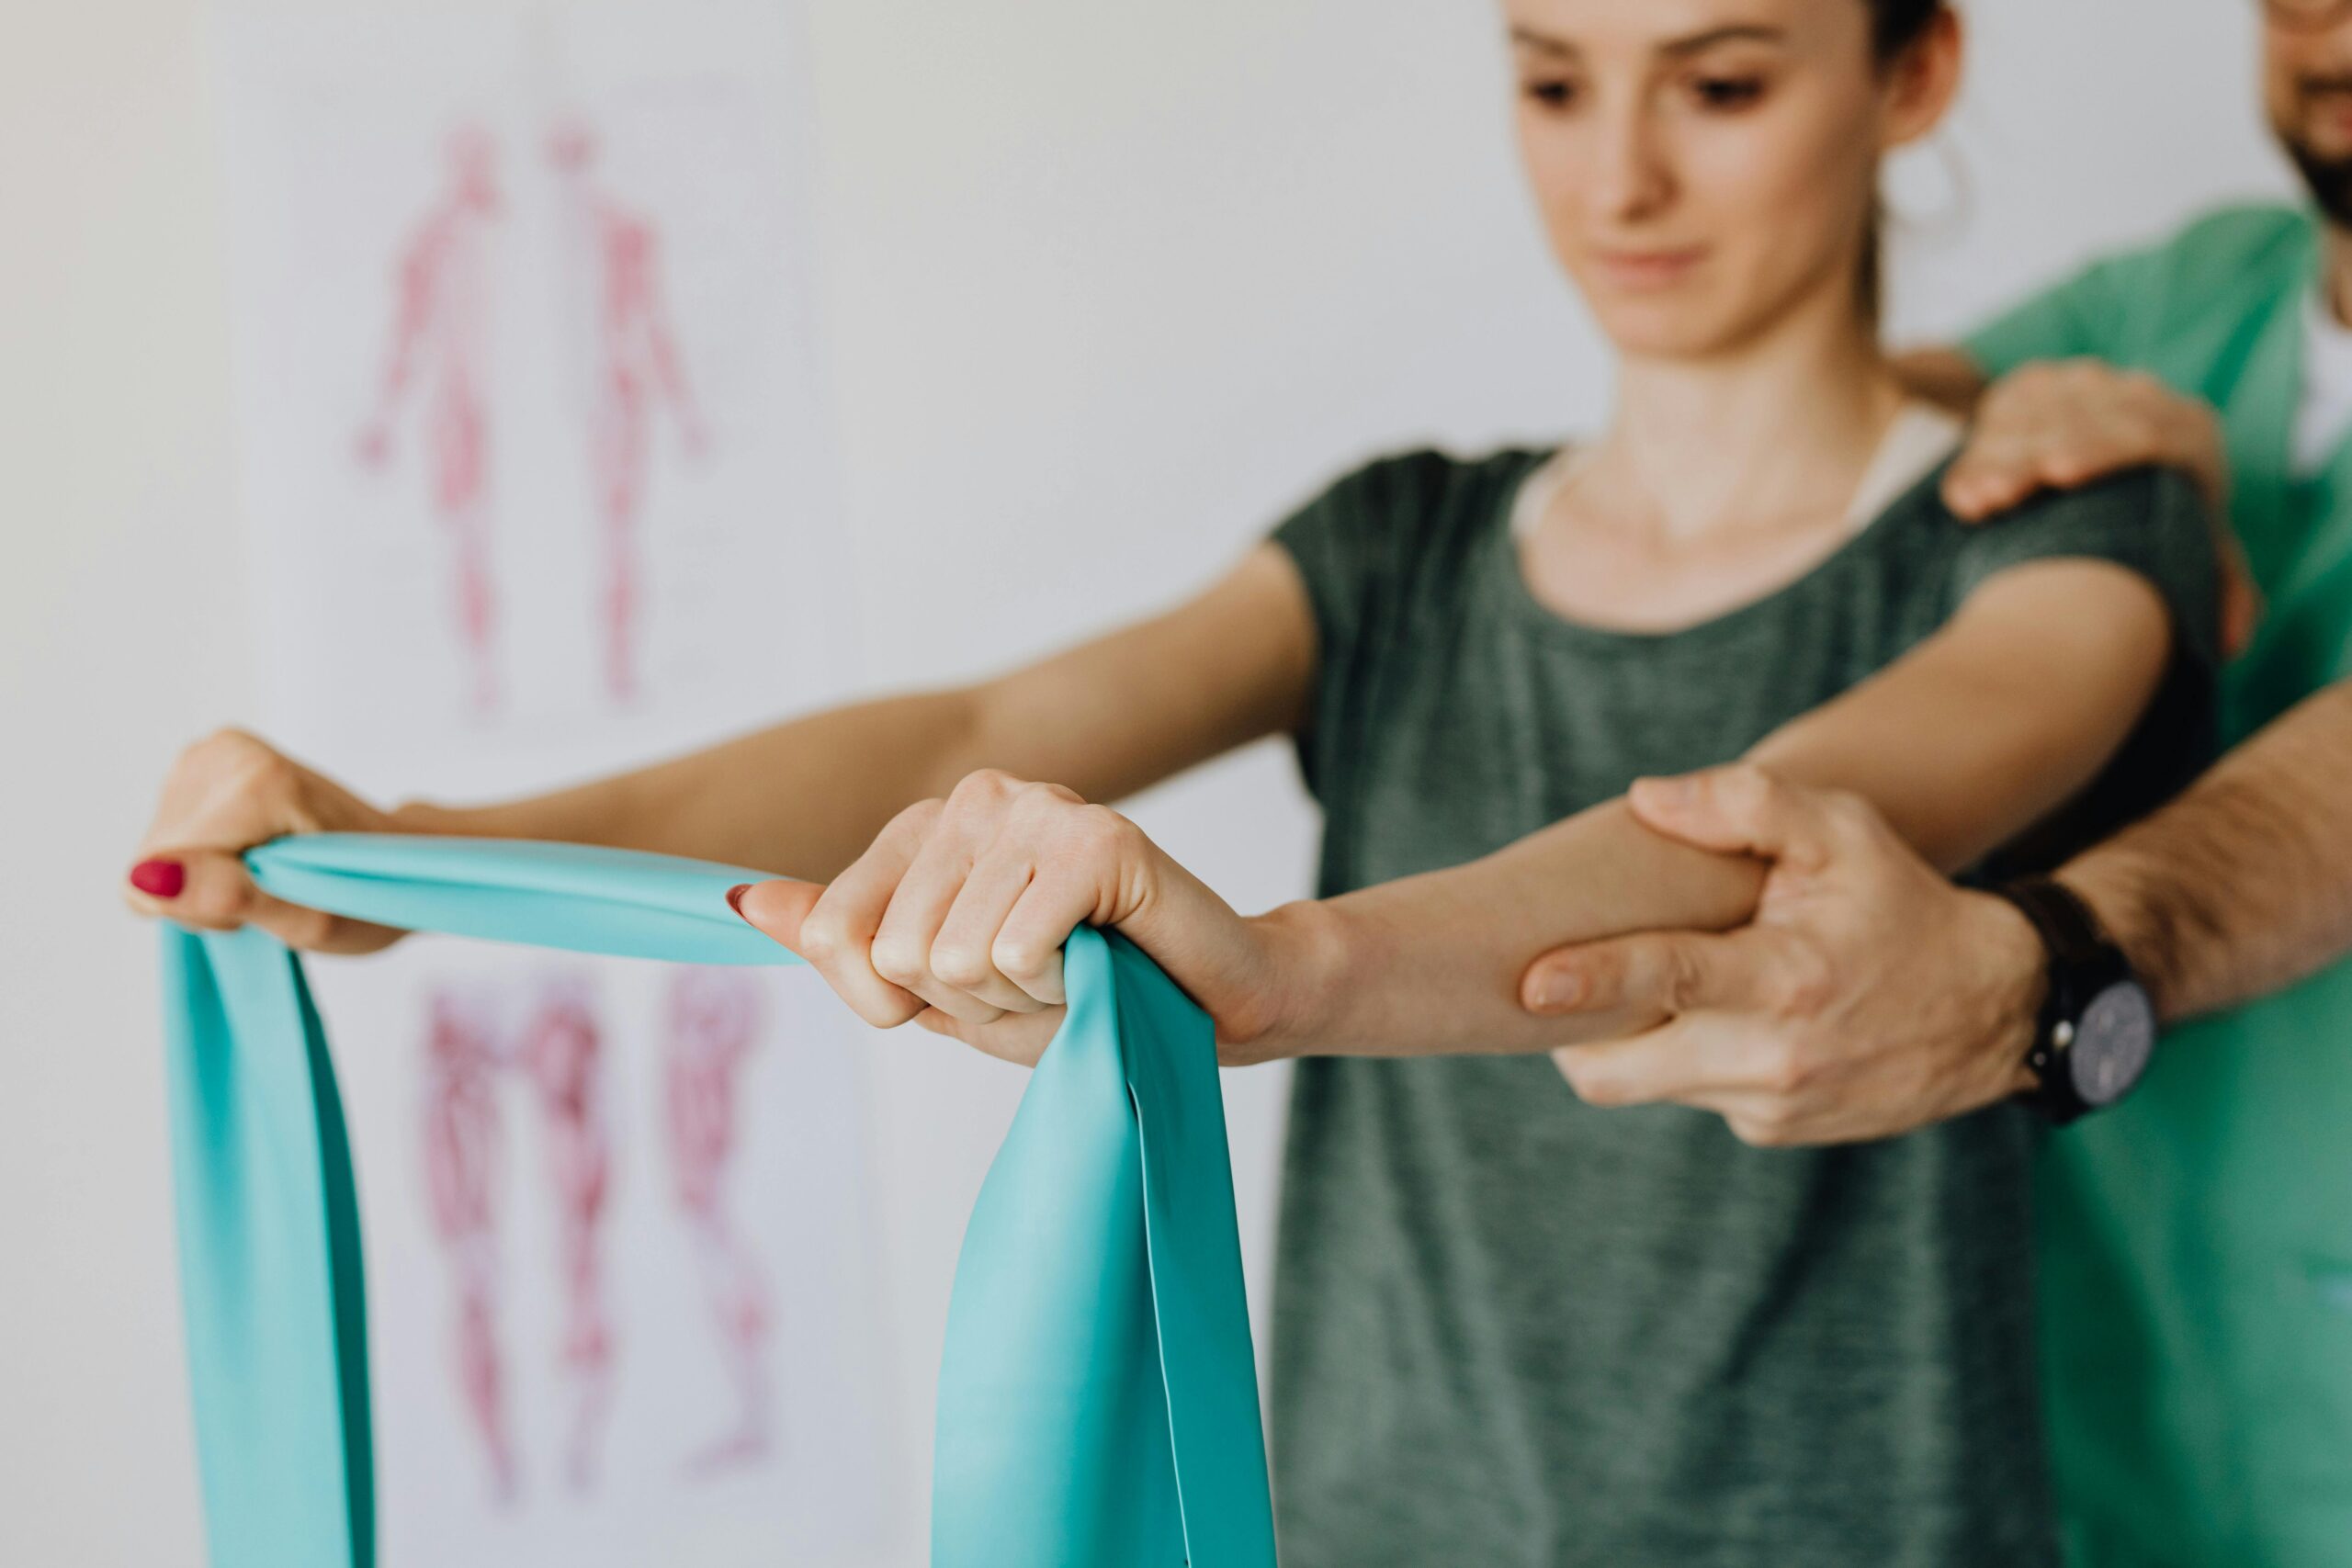
Your feet are the foundation of every athletic movement, yet most people overlook the critical relationship between foot positioning and overall performance. Understanding and implementing proper foot tripod mechanics can revolutionize your balance, strength, and movement efficiency.
Whether you’re lifting weights, practicing yoga, running, or simply standing for extended periods, the foot tripod concept serves as the cornerstone of biomechanical stability. This fundamental principle connects three specific points of contact with the ground, creating a stable base that influences everything from your ankle alignment to your core engagement.
🦶 Understanding the Foot Tripod: Your Body’s Natural Foundation
The foot tripod consists of three crucial points of contact that form a triangular base of support. These points include the base of your big toe (first metatarsal head), the base of your little toe (fifth metatarsal head), and the center of your heel (calcaneus). When these three points maintain balanced contact with the ground, they create optimal stability and force distribution throughout your entire kinetic chain.
Think of your foot like a three-legged stool. If one leg is shorter or not making proper contact, the entire structure becomes unstable. The same principle applies to your feet. When all three points press evenly into the ground, you activate the intrinsic muscles of your foot, engage your arch properly, and create a stable platform for movement.
Many people unconsciously collapse one or more points of their tripod, leading to compensatory patterns that travel up the body. Common issues include pronation (rolling inward), supination (rolling outward), or heel-dominant standing where the forefoot barely engages with the ground.
The Biomechanical Benefits of Mastering Your Foot Tripod
When you establish proper foot tripod positioning, you initiate a chain reaction of positive biomechanical effects throughout your entire body. The benefits extend far beyond your feet, influencing joint alignment, muscle activation patterns, and overall movement quality.
Enhanced Stability and Balance
A properly grounded foot tripod dramatically improves your balance by expanding your base of support and lowering your center of gravity effectively. This enhanced stability allows you to maintain positions longer, resist external forces better, and move with greater confidence in dynamic situations.
Athletes in sports requiring quick direction changes—such as basketball, tennis, or martial arts—particularly benefit from this improved stability. The foot tripod acts as a shock absorber and spring simultaneously, allowing for explosive movements while maintaining control.
Increased Power Generation
Power generation begins from the ground up. When your foot tripod is properly engaged, you can transmit force more efficiently through your kinetic chain. This means stronger lifts in the gym, more powerful kicks and punches in martial arts, and improved jumping ability in sports like volleyball and basketball.
Research in biomechanics consistently demonstrates that athletes who maintain proper foot mechanics generate significantly more force than those with collapsed or improper foot positioning. The difference can be as much as 20-30% in measurable power output.
Injury Prevention and Joint Health
Proper foot tripod mechanics reduce stress on your ankles, knees, hips, and even your lower back. By distributing forces evenly across all three contact points, you avoid the overload patterns that lead to common injuries like plantar fasciitis, Achilles tendinitis, shin splints, and knee pain.
The foot tripod also promotes proper arch function, preventing both flat feet and excessively high arches from causing problems. Your arch acts as a natural suspension system, and the tripod positioning optimizes its function.
Essential Cues for Establishing Your Foot Tripod 🎯
Learning to feel and maintain your foot tripod requires conscious practice and specific cueing. These verbal and mental cues help you develop the proprioceptive awareness necessary to maintain proper foot positioning automatically.
The “Screw Your Feet Into the Ground” Cue
Imagine you’re standing on two bottle caps and need to screw them into the ground. This external rotation force engages the muscles of your hips and legs while pressing all three tripod points firmly into the floor. Your feet shouldn’t actually rotate, but the rotational tension creates stability.
This cue is particularly effective during squats, deadlifts, and standing poses. It activates your glutes, stabilizes your knees, and ensures even weight distribution across your foot tripod.
The “Shorten Your Foot” Cue
Try to shorten the distance between your heel and the ball of your foot by engaging your arch. This action, called the “short foot exercise,” activates the intrinsic muscles of your foot and lifts your arch while maintaining contact with all three tripod points.
Practice this cue while sitting first, then progress to standing, and eventually incorporate it into dynamic movements. The goal is to create active arch support rather than relying on passive structures or external support from shoes.
The “Spread Your Toes” Cue
Actively spreading your toes widens your base of support and ensures the big toe and little toe mounds maintain proper ground contact. Many people have lost toe mobility due to restrictive footwear, making this cue challenging at first.
Work on toe spreading exercises daily. Try to lift and separate each toe individually, and practice moving your big toe independently from your other toes. This develops the neural pathways for better foot control.
The “Tripod Pressure” Cue
Consciously press each of the three points into the ground with equal pressure. Scan through each point—big toe base, little toe base, heel center—and adjust as needed. This mental checklist becomes faster with practice until it happens automatically.
During exercises, periodically check in with your tripod pressure. If you notice one point lifting or pressing harder, make micro-adjustments to rebalance your foundation.
Practical Application: Implementing Foot Tripod in Common Movements
Understanding the concept is one thing; applying it consistently across various activities is where real mastery develops. Let’s explore how to integrate foot tripod awareness into common movements and exercises.
Standing and Posture
Most people stand with poor foot mechanics, often rocking back on their heels or collapsing their arches. To establish proper standing posture, place your feet hip-width apart and establish your tripod. You should feel approximately 60% of your weight through your heels and 40% through your forefoot, evenly distributed between the big toe and little toe sides.
Your ankles should be neutral, not rolling inward or outward. Check your alignment by observing whether your ankle bones are vertical—if they lean inward, you’re likely pronating and losing your tripod connection.
Squatting Movements
The squat is perhaps the most fundamental movement pattern where foot tripod mechanics prove essential. As you descend into a squat, maintain pressure through all three points. A common error is allowing the heels to lift or the arches to collapse inward as you reach depth.
Before initiating your squat, establish your tripod and create that “screwing” tension. Maintain this foundation throughout the entire movement. If you lose your tripod during the squat, it often indicates mobility limitations or motor control issues that need addressing.
Running and Walking
Dynamic movements like running require the foot tripod to function during rapid loading and unloading cycles. During the stance phase of running, your foot should roll from heel to toe while maintaining tripod integrity—not collapsing inward or rolling excessively outward.
Practice walking slowly with conscious tripod awareness. Feel how your weight transfers through the tripod during each step. This awareness transfers to faster movements with practice, improving your running efficiency and reducing injury risk.
Yoga and Balance Poses
Yoga poses provide excellent opportunities to develop foot tripod awareness because they require sustained positions with conscious body awareness. In standing poses like Warrior I or Tree Pose, the foot tripod becomes immediately obvious—lose it, and you lose your balance.
Use balancing poses as tripod training. Notice which point tends to lift first when you lose balance. This reveals your personal compensatory patterns and shows you where to focus your attention.
Progressive Exercises to Develop Foot Tripod Mastery 💪
Like any skill, mastering the foot tripod requires progressive practice. These exercises build from basic awareness to complex integration in dynamic movements.
Level 1: Seated Tripod Awareness
Sit in a chair with your feet flat on the ground. Lift your arch while keeping all three tripod points in contact with the floor. Hold for 10 seconds, relax, and repeat 10 times. This builds the neural connection and strengthens intrinsic foot muscles.
Progress this exercise by adding toe spreading and attempting to press each tripod point more firmly into the ground independently.
Level 2: Standing Tripod Holds
Stand with feet hip-width apart and establish your tripod. Shift your weight slightly forward and back, then side to side, while maintaining all three points of contact. This develops dynamic stability within your tripod.
Add complexity by closing your eyes, standing on one foot, or standing on unstable surfaces like a balance pad.
Level 3: Single-Leg Balance Progressions
Single-leg standing requires precise tripod control. Stand on one foot, establish your tripod, and hold for 30-60 seconds. Progress by adding reaches in different directions, rotations, or catching and throwing a ball.
Single-leg deadlifts are particularly effective for building tripod strength and control during dynamic movements.
Level 4: Loaded Movement Integration
Finally, integrate tripod awareness into your regular training. Focus on maintaining proper foot mechanics during squats, lunges, step-ups, and other loaded exercises. Start with lighter weights to establish the pattern before progressing to heavier loads.
Video yourself performing exercises from the front and side. Watch for foot collapse, heel lifting, or excessive rolling. These visual checks accelerate your learning process.
Common Mistakes and How to Correct Them ⚠️
Even with proper instruction, several common errors frequently emerge when people first work on their foot tripod mechanics. Recognizing and correcting these mistakes accelerates your progress.
Gripping With the Toes
Many people try to create tripod stability by curling and gripping their toes against the ground. This creates tension in the wrong muscles and actually reduces stability. Instead, keep your toes long and spread while engaging the arch muscles.
If you notice toe gripping, consciously relax your toes while maintaining arch engagement. This distinction takes practice but makes a significant difference.
Losing the Tripod Under Load
Your tripod might feel solid during unloaded standing but collapse when you add weight or movement. This indicates insufficient strength or motor control. Reduce the load or movement complexity until you can maintain proper mechanics, then gradually progress.
Remember that perfect practice builds perfect patterns. Practicing poor mechanics under heavy load reinforces dysfunction.
Inconsistent Application
Some people maintain excellent tripod awareness during focused exercises but completely abandon it during daily activities or sports. Your goal should be automatic tripod maintenance in all activities.
Set reminders throughout your day to check your foot positioning. Over time, this conscious checking becomes unconscious competence.
Advanced Concepts: Beyond Basic Tripod Positioning 🚀
Once you’ve mastered basic tripod mechanics, several advanced concepts can further enhance your movement quality and performance.
The Tripod-Core Connection
Your foot tripod directly connects to your core stability through a phenomenon called irradiation. When you properly engage your foot tripod, the muscular activation travels up through your legs and into your core musculature.
Experiment with this connection: establish your tripod firmly and notice how your glutes, abdominals, and even shoulders become more engaged. This full-body tension creates authentic stability rather than isolated muscle activation.
Tripod Adaptations for Different Foot Types
Individual foot anatomy varies significantly. Someone with naturally high arches requires different tripod cues than someone with flat feet. The principles remain the same, but the execution adjusts to your unique structure.
If you have very high arches, focus more on maintaining heel and little toe contact, as these commonly lift. If you have flat feet, emphasize the “shortening your foot” cue to activate your arch while keeping all three points grounded.
Footwear Considerations
Your shoes significantly impact your ability to maintain and feel your foot tripod. Minimalist footwear or bare feet allow maximum sensory feedback and natural foot function. However, transitioning too quickly to minimal shoes can cause injury.
If you wear supportive shoes, gradually transition toward less support while building foot strength. Spend time barefoot daily, even if just at home. Consider “toe spacers” to help restore natural toe alignment compromised by narrow shoes.
Measuring Your Progress and Long-Term Development
Tracking your foot tripod mastery helps maintain motivation and identifies areas needing additional work. Several simple tests reveal your current level of competence.
Test your single-leg balance with eyes closed. Beginners typically last 5-10 seconds, while mastery-level performance means 60+ seconds with minimal wobbling. Test both legs—most people show significant asymmetry.
Video yourself performing squats from multiple angles. Watch for arch collapse, heel lifting, or foot rotation. Compare videos monthly to see improvement in your movement patterns.
Notice your daily comfort levels. As your foot tripod improves, standing for long periods becomes less fatiguing, your shoes wear more evenly, and chronic foot or knee pain often diminishes or disappears.
Integrating Tripod Awareness Into Your Daily Routine
The real power of foot tripod mastery emerges when it becomes automatic in your daily life. This integration happens through consistent practice and strategic awareness exercises.
Start each morning with a two-minute foot tripod routine: toe spreading, arch lifts, and tripod pressure awareness. This primes your nervous system for proper foot mechanics throughout the day.
During routine activities—standing in line, washing dishes, brushing teeth—check your tripod positioning. These frequent mini-practice sessions accumulate into significant skill development without requiring dedicated training time.
Before any athletic activity or workout, include tripod activation as part of your warm-up. Even 30 seconds of focused attention dramatically improves your movement quality during the subsequent training.
The Foundation for Optimal Movement 🎯
Mastering your foot tripod represents one of the highest-value investments you can make in your physical development. This fundamental skill underlies virtually every human movement pattern, from the simplest daily activities to the most complex athletic performances.
The journey from unconscious incompetence to unconscious competence takes time and consistent practice. Most people notice significant improvements within 2-4 weeks of dedicated practice, with continued refinement over months and years.
Your feet contain approximately 25% of all the bones in your body and feature complex networks of muscles, ligaments, and sensory receptors. Treating them as the sophisticated movement tools they are—rather than mere platforms to stand on—unlocks performance improvements that ripple throughout your entire kinetic chain.
Start today by simply standing and finding your three points of contact. Press them evenly into the ground and notice how your entire body responds. This simple awareness exercise is the first step toward mastering your stance and unlocking the superior balance and power that proper foot mechanics provide.
Remember that perfect practice creates perfect patterns. Focus on quality over quantity, maintain patience with your progress, and celebrate the small improvements that accumulate into transformative change. Your feet are literally your foundation—building a strong, stable, properly functioning base supports everything else you do in movement and in life.