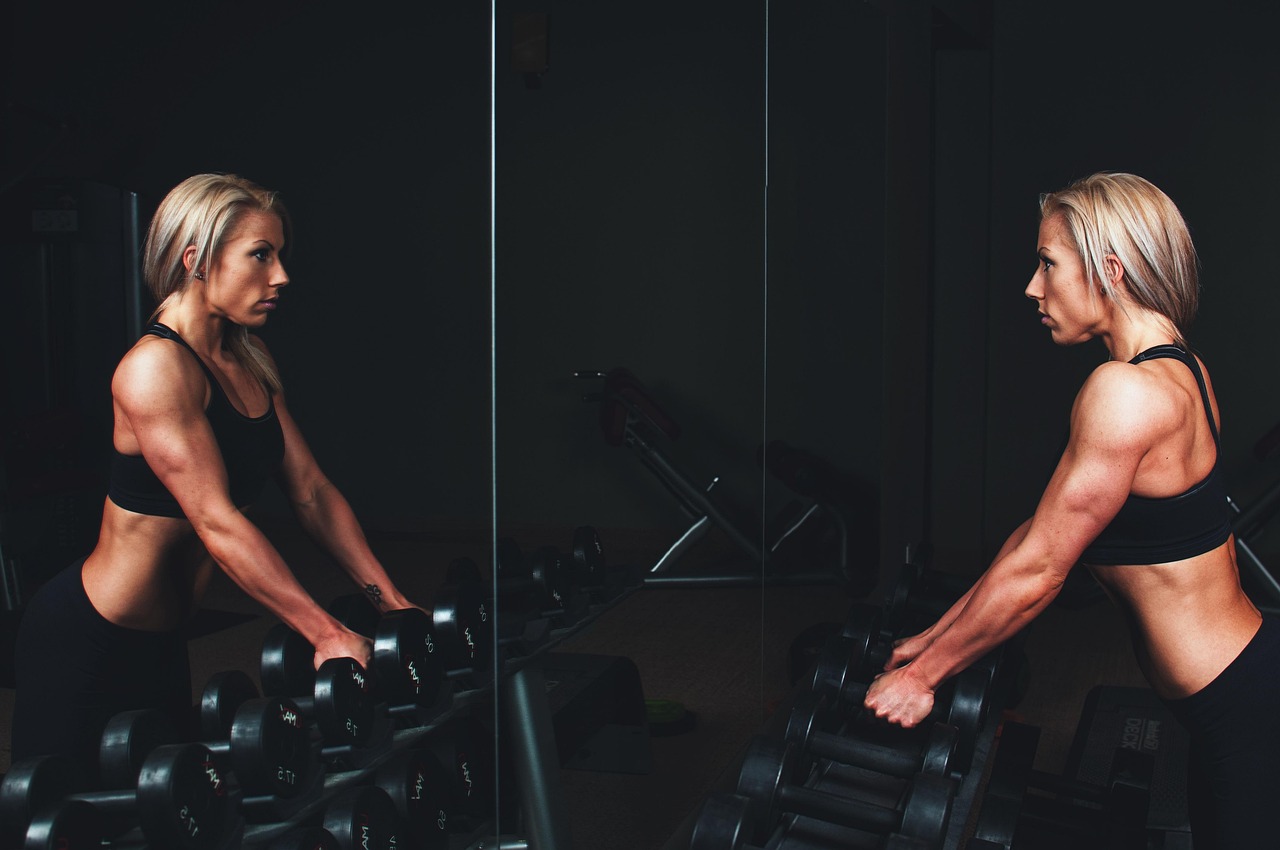
Proper exercise form isn’t just about looking good at the gym—it’s the foundation of safe, effective workouts that deliver real results. Whether you’re a beginner or seasoned fitness enthusiast, mastering movement patterns can transform your training experience.
Every rep you perform is an opportunity to build strength or risk injury. The difference lies in your technique. Physical therapists and certified trainers emphasize that understanding the precise mechanics of each exercise creates a roadmap for sustainable progress. This comprehensive guide provides you with professional-grade form scripts that break down complex movements into manageable, actionable steps.
🎯 Why Exercise Form Matters More Than You Think
The gym is filled with well-intentioned people performing exercises incorrectly. Poor form doesn’t just limit your gains—it actively works against your fitness goals. When you execute movements with improper technique, you recruit the wrong muscle groups, create compensatory movement patterns, and increase your injury risk exponentially.
Physical therapists treat countless patients whose injuries stem from incorrect exercise execution. Rotator cuff tears from improper overhead presses, lower back strain from rounded-spine deadlifts, and knee problems from inward-collapsing squats are preventable with proper form awareness. The body is remarkably adaptable, but it will reinforce whatever patterns you feed it—good or bad.
Proper form ensures mechanical efficiency. When your joints align correctly and muscles fire in the right sequence, you generate maximum force with minimum wasted energy. This means better results from every workout, faster strength gains, and enhanced muscle development exactly where you want it.
💪 The Squat: Building a Bulletproof Foundation
The squat reigns as the king of lower body exercises, engaging your quadriceps, hamstrings, glutes, and core simultaneously. This fundamental movement pattern translates directly to daily activities like sitting, standing, and lifting objects from the ground.
Step-by-Step Squat Form Script
Starting Position: Stand with feet shoulder-width apart or slightly wider. Point toes forward or angled out 15-30 degrees, whatever feels natural for your hip structure. Distribute weight evenly across your entire foot—avoid lifting your toes or heels.
The Descent: Initiate the movement by simultaneously pushing your hips back and bending your knees. Imagine sitting back into a chair behind you. Keep your chest proud and spine neutral—avoid excessive forward lean or rounding your back. Your knees should track over your toes, not caving inward. Descend until your hip crease drops below your knee level, or to whatever depth you can maintain proper form.
The Bottom Position: Pause briefly at the bottom. Your weight should remain centered over mid-foot. Core engaged, chest up, and maintain that neutral spine. You should feel tension building in your quads and glutes.
The Ascent: Drive through your entire foot, pushing the floor away. Think about spreading the floor apart with your feet to activate your glutes. Keep your chest up and extend your hips and knees simultaneously. Avoid shooting your hips up first, which shifts excessive load to your lower back.
Common Mistakes to Avoid: Don’t let your knees collapse inward—this stresses the knee joint and limits glute activation. Avoid excessive forward lean that turns your squat into a “good morning” exercise. Keep your heels planted; rising onto your toes indicates mobility limitations or improper weight distribution.
🏋️ The Deadlift: Mastering the Hip Hinge
Deadlifts build total-body strength with special emphasis on your posterior chain—the muscles along your backside that are chronically underutilized in modern sedentary life. This exercise teaches the fundamental hip hinge pattern essential for safe lifting mechanics.
Conventional Deadlift Form Breakdown
Setup: Stand with feet hip-width apart, barbell over mid-foot (typically where your shoelaces tie). Bend at the hips and knees to grip the bar just outside your legs. Your shoulders should be slightly in front of the bar when viewed from the side.
Pre-Lift Position: Pull the slack out of the bar by engaging your lats—imagine crushing oranges in your armpits. Create full-body tension. Your spine should be neutral from tailbone to head. Take a deep breath into your belly and brace your core as if expecting a punch.
The Lift: Drive through your entire foot, pushing the floor away. Your hips and shoulders should rise at the same rate. Keep the bar path vertical and close to your body—it should nearly scrape your shins and thighs. Extend your hips and knees simultaneously until you reach a fully upright position.
Lockout Position: Stand tall with shoulders back, but avoid excessive leaning backward. Your body should form a straight line. Squeeze your glutes to complete full hip extension.
The Descent: Reverse the movement by pushing your hips back first, then bending your knees once the bar clears them. Maintain that neutral spine and controlled tempo. The bar should follow the same vertical path down.
Critical Safety Cues: Never round your lower back under load. If your back rounds at heavier weights, the load exceeds your current strength capacity. Keep your neck neutral—looking up excessively hyperextends your cervical spine. The deadlift is a pull, not a squat, so your hips start higher than in a squat position.
📋 Push-Up Perfection: Upper Body Fundamentals
The humble push-up is a masterclass in body control and upper body strength. This closed-chain exercise builds chest, shoulders, and triceps while demanding core stability that protects your spine.
Push-Up Form Script for Maximum Effectiveness
Hand Placement: Position hands slightly wider than shoulder-width, fingers pointing forward or slightly outward. Your hands should align roughly with your mid-chest when you’re at the bottom position.
Body Alignment: Create a plank position from head to heels. Your body should form a straight line—no sagging hips or piked buttocks. Engage your core by bracing as if someone might poke your stomach. Squeeze your glutes to maintain posterior pelvic tilt and protect your lower back.
The Descent: Lower your body as one unit by bending your elbows. Your elbows should track at roughly a 45-degree angle from your body, not flaring straight out to 90 degrees. Descend until your chest nearly touches the floor, or to whatever depth you can maintain proper form.
The Press: Push through your palms, extending your elbows to return to the starting position. Maintain that rigid body alignment throughout. Your shoulders should protract at the top—push your upper back toward the ceiling rather than just locking your elbows.
Breathing Pattern: Inhale during the descent, exhale during the press. Maintain core tension throughout both phases.
Modifications for Different Levels: Beginners can perform push-ups from knees or against an elevated surface. Advanced exercisers can elevate feet, add weight, or incorporate variations like archer push-ups or plyometric movements.
🎪 Overhead Press: Shoulder Strength and Stability
The overhead press develops shoulder strength while testing your core stability. This fundamental human movement pattern requires proper sequencing and full-body tension to execute safely and effectively.
Standing Overhead Press Technique
Starting Position: Hold dumbbells or a barbell at shoulder height, elbows slightly in front of the bar. Feet should be hip-width apart with slight knee bend. Engage your core and glutes to create a stable base.
The Press: Drive the weight straight up, moving your head slightly back to allow clearance. As the weight passes your forehead, push your head through to achieve full lockout with the weight over your mid-foot. Fully extend your elbows at the top without hyperextending your lower back.
Lockout Position: Your biceps should be by your ears, shoulders shrugged up toward the ceiling. The weight should be directly over your center of mass. Squeeze your glutes throughout to prevent excessive lumbar extension.
The Descent: Lower the weight under control along the same path, tucking your head back slightly to create clearance. Return dumbbells or barbell to shoulder level with control.
Common Errors: Excessive back arching compensates for limited shoulder mobility or core weakness. Pressing the weight forward rather than straight up limits mechanical efficiency and stresses your shoulders. Holding your breath instead of breathing rhythmically increases blood pressure unnecessarily.
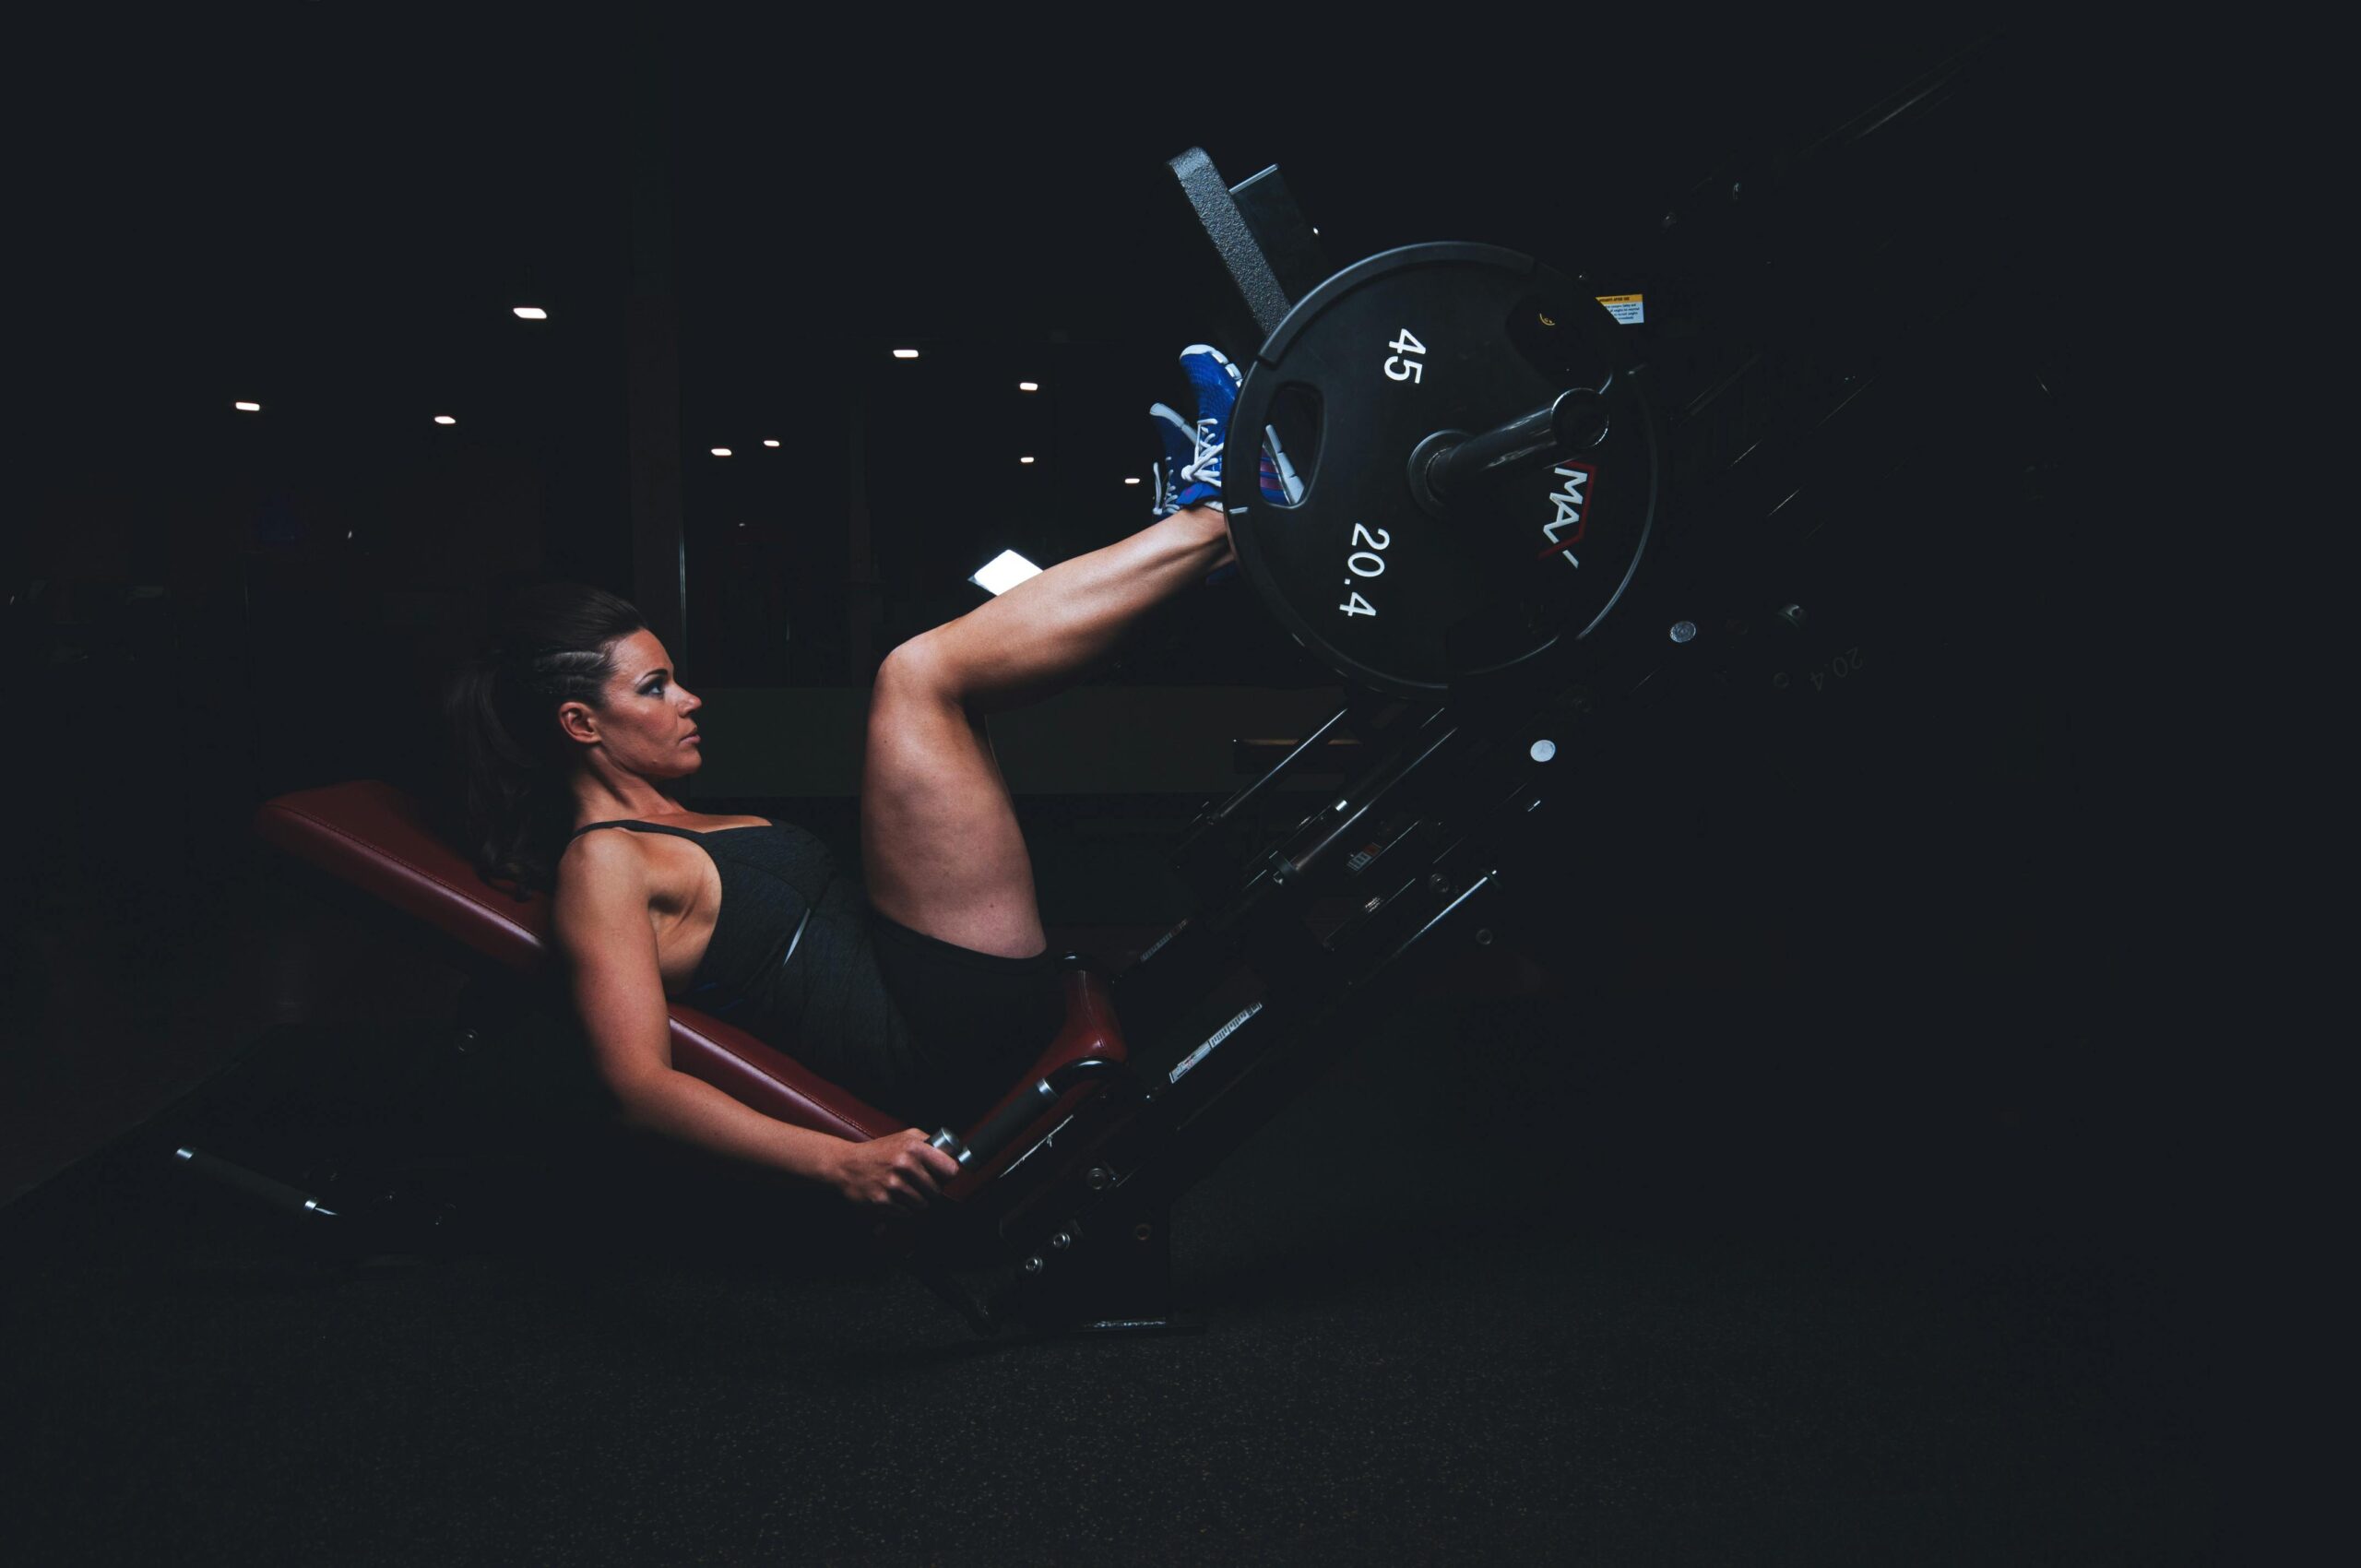
🦵 The Lunge: Unilateral Leg Development
Lunges address strength imbalances by training one leg at a time. This exercise enhances balance, coordination, and functional lower body strength that translates directly to athletic performance and daily activities.
Forward Lunge Form Guide
Starting Stance: Stand tall with feet hip-width apart, core engaged, hands on hips or holding weights at your sides.
The Step: Take a controlled step forward, landing heel-first. Your stride length should allow both knees to bend to approximately 90 degrees at the bottom position.
The Descent: Lower your body straight down by bending both knees. Your front knee should track over your front foot, not pushing forward past your toes. Your back knee descends toward the floor but doesn’t slam down. Keep your torso upright with a slight forward lean from the hips.
Bottom Position: Both knees bent to 90 degrees, weight distributed primarily through your front heel and mid-foot. Your back foot remains on the ball with heel elevated.
The Return: Drive through your front heel to push back to the starting position. Maintain an upright torso and avoid excessive forward lean.
Balance Tips: If balance proves challenging, perform reverse lunges instead—stepping backward is typically easier to control. You can also hold onto a stable surface initially while developing proprioception and leg strength.
🔄 Row Variations: Building a Strong Back
Rowing movements counterbalance pressing exercises and combat the forward-rounded posture epidemic of modern life. A strong back supports better posture, shoulder health, and pulling strength.
Bent-Over Dumbbell Row Technique
Setup: Hold a dumbbell in one hand. Place your opposite hand and knee on a bench for support. Your torso should be nearly parallel to the floor with a neutral spine.
Starting Position: Let the dumbbell hang straight down from your shoulder, arm fully extended. Your shoulder blade should be protracted slightly at the bottom.
The Pull: Initiate the movement by retracting your shoulder blade—pull your shoulder blade toward your spine. Then bend your elbow, pulling the dumbbell toward your hip. Your elbow should travel close to your body, not flaring outward. Pull until your elbow reaches torso height or slightly above.
Top Position: Squeeze your shoulder blade toward your spine and hold briefly. You should feel strong contraction through your lat, rhomboid, and middle trap muscles.
The Descent: Lower the weight with control, allowing your shoulder blade to protract as you return to the starting position.
Form Checkpoints: Avoid rotating your torso as you row—the movement should come from your shoulder and arm, not momentum. Keep your neck neutral, not craning upward. Your supporting arm should remain stable throughout the movement.
🧘 Core Training: Plank Variations Done Right
Core stability protects your spine during all movements. The plank and its variations build the endurance and strength necessary for a functional, injury-resistant core.
Perfect Plank Form
Position: Place forearms on the ground with elbows directly under shoulders. Extend legs behind you, supporting your body weight on forearms and toes. Your body should form a straight line from head to heels.
Engagement Cues: Brace your core as if expecting impact. Squeeze your glutes to maintain neutral pelvis position. Pull your elbows toward your toes without actually moving them—this activates your lats and serratus muscles. Press your forearms firmly into the ground.
Breathing: Continue breathing normally—never hold your breath during planks. Maintaining core tension while breathing rhythmically builds functional core endurance.
Duration Guidelines: Quality beats quantity. A 30-second plank with perfect form outperforms a two-minute plank with sagging hips and compensatory patterns. Progress by holding perfect form longer, not by enduring poor form.
Common Mistakes: Sagging hips indicate insufficient core or glute activation. Piked hips shift work away from your core. Holding your breath creates unsustainable tension and spikes blood pressure.
📱 Technology Tools for Form Feedback
Modern technology provides unprecedented access to form feedback and coaching. Video analysis apps allow you to record and review your technique from multiple angles, identifying subtle form breakdowns invisible in the moment.
Several fitness applications offer form-checking features with artificial intelligence analyzing your movement patterns. These tools provide real-time feedback about joint angles, bar paths, and tempo—metrics that personal trainers use to refine technique.
Smart mirrors and motion-tracking systems represent the cutting edge of home fitness technology. These devices project workout instructions while monitoring your form, providing corrective feedback similar to in-person training sessions.
Even simple smartphone slow-motion video proves invaluable. Recording your lifts from the side and front angles reveals compensation patterns and asymmetries that feel invisible during execution. Review footage between sets, comparing your form to instructional videos from certified professionals.
⚡ Progressive Overload While Maintaining Form
Strength gains require progressive overload—gradually increasing the training stimulus over time. However, this progression must never compromise exercise form. The ego has no place in the weight room when it sacrifices technique for heavier loads.
Increase resistance only when you can complete all prescribed repetitions with excellent form. If your technique deteriorates during the final reps of a set, the weight is too heavy or fatigue has accumulated beyond your current capacity. There’s no shame in reducing weight to maintain quality movement.
Progressive overload extends beyond just adding weight. You can increase volume (more sets or reps), improve time under tension (slower tempo), decrease rest periods, or enhance range of motion. All these methods drive adaptation while respecting proper form.
Periodization strategies alternate between phases emphasizing different qualities—strength, hypertrophy, power, or endurance. This approach prevents stagnation while allowing technique refinement during lighter phases. Even elite athletes regularly cycle back to lighter loads to reinforce perfect movement patterns.
🎓 When to Seek Professional Coaching
Self-education through articles and videos provides valuable foundational knowledge, but nothing replaces personalized coaching from qualified professionals. Certified personal trainers and physical therapists identify individual movement limitations and provide customized corrections.
Consider professional coaching if you experience persistent pain during exercises, struggle to feel exercises in the intended muscles, or hit frustrating plateaus despite consistent effort. These situations often indicate form issues or movement dysfunctions requiring expert assessment.
Even a few sessions with a qualified coach establishes proper movement foundations that serve you for years. Coaches provide external feedback that’s impossible to generate yourself, correcting subtle errors before they become ingrained patterns.
Physical therapists offer particular value if you’re returning from injury or managing chronic conditions. They design modified exercise protocols that build strength while respecting tissue healing and individual limitations. This specialized knowledge prevents re-injury while maintaining training momentum.
🌟 Building Confidence Through Competence
Exercise confidence stems from competence. When you truly understand proper form and can execute movements correctly, gym anxiety dissolves. You’re no longer worried about looking foolish or getting hurt—you’re focused on the work itself.
Start every workout with a brief warm-up that includes bodyweight versions of your planned exercises. This movement rehearsal primes proper patterns and identifies any unusual stiffness or discomfort before adding external load. Think of it as a dress rehearsal for your working sets.
Maintain a training journal documenting not just weights and reps, but also form notes. Record which cues worked particularly well, exercises that felt off, or breakthrough moments when movement patterns clicked. This record accelerates learning and reveals long-term patterns.
Celebrate form victories as enthusiastically as strength PR’s. That squat where depth and bar speed felt perfect deserves recognition. The deadlift set where your back remained neutral throughout represents real progress. These technical achievements compound into long-term success.
🚀 Your Path Forward: Mastery Through Practice
Excellence in exercise form develops through deliberate practice, not passive repetition. Each workout presents opportunities to refine technique, deepen mind-muscle connection, and build movement mastery that transcends the gym.
Approach every training session with focused intention. Quality repetitions with lighter weights outperform sloppy heavy lifting for both safety and long-term results. Your future self will thank you for the patience and discipline you demonstrate today.
Remember that even elite athletes and experienced coaches continuously work on form refinement. Movement mastery is a journey without a final destination—there’s always another layer of understanding, another subtle refinement to discover.
The form scripts provided here serve as your foundation. Practice them consistently, seek feedback regularly, and remain humble about your current abilities while optimistic about your potential. With proper technique as your guide, sustainable strength gains and lifelong fitness become not just possible, but inevitable. Your body is remarkably capable when you treat it with the respect that proper form demonstrates. Master the movements, and the results will follow naturally.