Your hips are the powerhouse of movement, and learning proper hinge patterns can transform both your fitness results and long-term joint health.
Every day, whether you’re picking up groceries, playing with your kids, or pushing through an intense workout, your hips bear the load of countless movements. Yet most people never learn how to properly hinge at the hips, leading to compensatory patterns that strain the lower back, knees, and other joints. Understanding and implementing safe hinge mechanics isn’t just for athletes—it’s a fundamental life skill that protects your body while maximizing strength and performance.
🔍 Understanding the Hip Hinge: Your Body’s Natural Loading Mechanism
The hip hinge is a fundamental movement pattern where you bend at the hips while maintaining a neutral spine. Unlike squatting, where the knees travel forward significantly, a proper hinge emphasizes posterior chain engagement—your glutes, hamstrings, and lower back muscles working in harmony.
Think of your hips as a door hinge. When you bend forward to pick something up, your torso should move as one stable unit, rotating around the hip joint rather than rounding through the spine. This seemingly simple concept is the foundation of safe lifting, powerful athletic movements, and injury-resistant daily function.
Many people confuse hinging with simply bending over. The critical difference lies in maintaining spinal integrity while loading the posterior chain. When you round your back to reach something, you place enormous stress on your intervertebral discs and spinal ligaments. Conversely, a proper hinge distributes forces optimally across strong muscle groups designed to handle heavy loads.
The Anatomy Behind Effective Hinging
Your hip joint is a ball-and-socket structure capable of incredible range of motion. The hip flexors on the front of your thigh allow you to bring your knee toward your chest, while the glutes and hamstrings on the back extend the hip, driving your leg behind you. In a hinge pattern, you’re primarily loading the extensors while allowing the flexors to lengthen.
Your lumbar spine, ideally, maintains its natural curve throughout the hinge. This neutral position allows your spinal erectors and deep stabilizing muscles to create a rigid column that transfers force efficiently. When this position is compromised, individual vertebrae experience shear forces that can lead to disc bulges, nerve impingement, and chronic pain.
💪 Why Hip Hinge Patterns Matter for Everyone
Whether you’re a competitive powerlifter or someone who simply wants to age gracefully, hinge patterns are non-negotiable for long-term physical health. The benefits extend far beyond the gym walls into every aspect of daily life.
Injury Prevention That Actually Works
Lower back pain affects approximately 80% of adults at some point in their lives, with poor movement patterns being a primary culprit. Learning to hinge properly offloads stress from vulnerable spinal structures and redirects it to the powerful muscles of your posterior chain. This single skill can be the difference between chronic pain and pain-free living.
Knee injuries also decrease when you master the hinge. Many people overload their knees during picking and lifting tasks because they squat when they should hinge. By pushing your hips back and maintaining weight through your heels, you reduce anterior knee stress and protect these complex joints from premature wear.
Performance Enhancement Across All Activities
Athletes in virtually every sport rely on hip hinge mechanics. Sprinters drive power from hip extension. Baseball players generate rotational force from a stable hip hinge position. Even yoga practitioners need proper hinging for poses like forward folds and downward dog.
In the weight room, the hinge pattern underlies deadlifts, kettlebell swings, Romanian deadlifts, and good mornings—some of the most effective exercises for building total-body strength. Master the pattern, and you’ll unlock new levels of performance while staying injury-free.
🎯 The Essential Elements of a Safe Hip Hinge
Breaking down the hip hinge into its component parts helps you understand what your body should be doing at each stage of the movement. Let’s examine the key elements that separate safe, effective hinging from dysfunctional patterns.
Neutral Spine Positioning
Your spine should maintain its natural curves throughout the hinge. For most people, this means a slight arch in the lower back, not an exaggerated extension or a rounded flexion. Place your hand on your lower back as you hinge—it should feel stable and relatively unchanged from your standing posture.
Common mistakes include overarching the back in an attempt to “keep it straight” or allowing the lower back to round as you reach toward the floor. Both extremes create problems. The goal is neutral—maintaining the position your spine naturally assumes when you stand with good posture.
Hip-Dominant Movement Initiation
The hinge should start with your hips pushing backward, not your torso folding forward. Imagine someone tied a rope around your hips and is pulling you backward. Your hips move back and up as your torso naturally angles forward to maintain balance.
Your knees will bend slightly—this is normal and necessary—but the movement originates from hip flexion. Your shins should remain relatively vertical rather than the knees traveling forward significantly as they would in a squat pattern.
Weight Distribution and Foot Pressure
During a proper hinge, your weight should shift toward your heels and midfoot. You should be able to wiggle your toes throughout the movement, indicating that pressure isn’t concentrated on the balls of your feet. This weight distribution naturally engages your posterior chain and protects your knees.
Try this test: perform a hinge while paying attention to where you feel muscular tension. You should feel your hamstrings stretching, your glutes loading, and perhaps some activation in your lower back extensors. If you feel primarily quad tension or pressure in your knees, your pattern needs adjustment.
🏋️ Progressive Hinge Pattern Training Protocol
Learning to hinge properly requires progressive practice, starting with awareness exercises and gradually adding load and complexity. This systematic approach ensures you build competency before challenging the pattern with heavy weights or rapid movements.
Phase 1: Establishing the Pattern Without Load
Begin with the wall hinge drill. Stand about a foot away from a wall, facing away from it. Cross your arms over your chest and practice pushing your hips back until they touch the wall. Your torso will naturally angle forward, but your spine should remain neutral. This drill provides tactile feedback that helps your nervous system learn the movement.
Perform 3 sets of 10-15 repetitions daily, focusing on smooth, controlled motion. As this becomes comfortable, move farther from the wall, increasing the range of motion required to touch it with your hips.
Phase 2: Adding Light Resistance
Once you can perform 20 consecutive wall hinges with perfect form, introduce light resistance with a dowel or PVC pipe. Hold the dowel behind your back with one hand at your lower back and one between your shoulder blades. The dowel should maintain three points of contact throughout the hinge: your head, upper back, and sacrum.
This “dowel hinge” immediately reveals compensation patterns. If you lose contact at any of the three points, you’re either rounding or overextending your spine. Practice until you can maintain all three contact points through a full range of motion—this might take several weeks, and that’s perfectly normal.
Phase 3: Loaded Hip Hinge Variations
With solid bodyweight mechanics established, you’re ready to add external load. Start with these progressions in order:
- Kettlebell Deadlift: Place a kettlebell between your feet. Hinge down, grasp it with both hands, then drive through your heels to stand while maintaining your neutral spine. The kettlebell’s center of mass makes this variation forgiving and intuitive.
- Romanian Deadlift (RDL): Hold dumbbells or a barbell and hinge while the weight stays in your hands throughout the movement. This teaches you to maintain tension and control through the eccentric (lowering) phase.
- Single-Leg RDL: Perform the RDL while standing on one leg, extending the other leg behind you as you hinge. This advanced variation builds balance and unilateral hip strength.
- Barbell Deadlift: The king of hinge exercises, but save it until your pattern is rock-solid. Start with light weight and prioritize perfect form over impressive loads.
📊 Common Hip Hinge Mistakes and Corrections
Even with proper instruction, certain errors appear consistently when people learn to hinge. Recognizing and correcting these mistakes accelerates your progress and reduces injury risk.
| Common Mistake | What Happens | Correction Strategy |
|---|---|---|
| Knees cave inward | Valgus collapse increases knee injury risk and reduces power | Focus on “spreading the floor” by actively engaging glutes to maintain knee tracking |
| Lower back rounding | Spinal flexion under load stresses discs and ligaments | Reduce range of motion and strengthen core stability; use dowel feedback |
| Rising onto toes | Indicates forward weight shift and quad dominance | Practice pushing through heels; may need to address ankle mobility |
| Looking up excessively | Hyperextends cervical spine and disrupts neutral positioning | Maintain neutral neck by focusing eyes 6-8 feet in front of you |
| Soft knees at lockout | Fails to fully engage glutes and complete the movement | Squeeze glutes hard at the top position; think “humping the bar” |
The Breathing Connection
Proper breathing mechanics are inseparable from safe hinging. Before you begin the descent, take a deep breath into your belly, creating intra-abdominal pressure that stabilizes your spine. Hold this breath throughout the most challenging portion of the lift, then exhale at the top.
This “valsalva maneuver” isn’t just for powerlifters—it’s a fundamental bracing strategy that protects your spine during loaded movements. Practice this breathing pattern without weight until it becomes automatic.
🔄 Integrating Hip Hinges Into Your Training Routine
Knowing how to hinge and actually doing it consistently are two different things. Strategic programming ensures you develop and maintain this essential pattern throughout your training life.
Frequency and Volume Recommendations
For beginners establishing the pattern, practice hinge movements 3-4 times per week with lower intensity. Your nervous system needs frequent exposure to learn the motor pattern, but excessive loading hampers recovery and increases injury risk.
Intermediate and advanced trainees can perform heavy hinge-dominant exercises 1-2 times weekly, with lighter variations or accessory work on additional days. A sample week might include heavy deadlifts on Monday, Romanian deadlifts on Wednesday, and kettlebell swings on Friday.
Programming for Different Goals
Your training goals should influence how you program hinge patterns. Strength-focused athletes will prioritize heavy deadlift variations with lower repetitions (3-5 reps) and longer rest periods. Those training for hypertrophy might use moderate loads for 8-12 reps with shorter rest intervals.
Athletic performance programs often emphasize explosive hinge variations like kettlebell swings, broad jumps, and Olympic lifting derivatives. These movements develop the rapid hip extension that transfers directly to sprinting, jumping, and throwing.
🌟 Beyond the Gym: Hip Hinge Applications in Daily Life
The true value of mastering the hip hinge becomes apparent when you need to navigate everyday physical challenges. These movement skills protect your back during the thousands of bending and lifting tasks you perform throughout life.
Household Tasks and Ergonomics
Loading the dishwasher, picking up laundry, or retrieving items from low shelves all present opportunities to practice your hinge. Instead of rounding your back to reach down, push your hips back and maintain a proud chest position. Your back will thank you after years of this practice.
When carrying groceries or moving furniture, the hip hinge allows you to generate force from your legs and hips rather than straining with your arms and lower back. Think of your body as a lever system where your hips are the fulcrum—proper positioning creates mechanical advantage.
Playing With Children and Pets
If you have young children or pets, you’re constantly picking them up, setting them down, and playing at ground level. Each interaction is a mini-workout that either reinforces good movement patterns or gradually degrades your joint health.
When lifting a child, hinge down to their level rather than bending with a rounded spine. Get close to them before lifting, keeping them near your center of gravity. As you stand, drive through your heels and let your glutes do the work. These small adjustments compound over thousands of repetitions throughout parenthood.
⚡ Advanced Hinge Variations for Continued Progress
Once you’ve mastered fundamental hinge mechanics, advanced variations provide new challenges that continue developing strength, power, and movement quality.
The Kettlebell Swing Revolution
Kettlebell swings are perhaps the most underrated exercise in fitness. This ballistic hinge pattern develops explosive hip power, cardiovascular conditioning, and posterior chain endurance simultaneously. The swing teaches you to generate force rapidly while maintaining spinal integrity—a skill that transfers to almost every athletic movement.
Start with Russian swings, where the kettlebell rises to chest height, before progressing to American swings overhead. Focus on the hip snap rather than using your arms to lift the weight. Your arms are simply ropes connecting your hips to the kettlebell.
Deficit and Elevated Variations
Standing on a platform while deadlifting increases your range of motion, demanding greater flexibility and strength through extended positions. Conversely, pulling from elevated blocks or pins reduces range of motion, allowing you to overload the top portion of the movement with heavier weights.
These variations address specific weaknesses and add training variety. Deficit deadlifts improve your pull from the floor, while block pulls strengthen your lockout and build confidence with heavier loads.
Single-Leg Hinge Mastery
Single-leg hinge variations like the single-leg Romanian deadlift are among the most functional exercises you can perform. They address left-right imbalances, develop stabilizing muscles, and improve balance—all while building serious strength.
Most people discover they have significant asymmetries when they attempt single-leg work. Your dominant leg might be dramatically stronger or more coordinated than your non-dominant side. Addressing these imbalances prevents compensatory movement patterns and reduces injury risk.
🧠 The Neurological Dimension of Movement Patterns
Your brain and nervous system are the ultimate controllers of movement quality. Understanding the neurological aspects of motor learning helps you practice more effectively and accelerate skill acquisition.
Motor Pattern Development Takes Time
Your nervous system needs approximately 300-500 repetitions to develop a basic motor pattern, but 3,000-5,000 repetitions to create an ingrained, automatic movement. This is why consistent practice with perfect form is infinitely more valuable than occasional training with questionable technique.
Every repetition you perform is practice—you’re either practicing good movement or reinforcing dysfunction. This reality should motivate you to prioritize quality over quantity, especially when learning new patterns or working with challenging loads.
The Mind-Muscle Connection
Focused attention during training enhances motor learning. Rather than mindlessly going through the motions, actively think about which muscles should be working during each phase of the hinge. Visualize your glutes driving your hips forward as you stand. Feel your hamstrings loading as you descend.
This conscious attention creates stronger neural pathways between your brain and muscles. Over time, the pattern becomes automatic, but the initial learning phase requires deliberate focus and mental engagement.
🛡️ Injury Rehabilitation and Hip Hinge Modifications
Even with perfect technique, injuries sometimes occur. The hip hinge pattern can be modified to accommodate various limitations while maintaining training stimulus during rehabilitation.
Working Around Lower Back Issues
If you’re dealing with lower back pain, reducing range of motion while maintaining perfect spinal mechanics often allows continued training. Trap bar deadlifts naturally reduce spinal loading compared to conventional deadlifts. Cable pull-throughs provide a hinge training stimulus with minimal axial loading.
Always consult with qualified healthcare providers about your specific situation, but understand that complete rest is rarely the answer. Modified movement that respects your current capabilities often facilitates healing better than inactivity.
Knee-Friendly Hinge Variations
Those with knee issues often find hinge-dominant movements more comfortable than squat patterns. The reduced knee flexion and anterior knee stress make deadlift variations accessible when squats are problematic.
Sumo deadlifts with a wider stance sometimes feel better for those with hip or knee limitations. Experiment with different foot positions and stance widths to find what allows pain-free movement through a full range of motion.
🎓 Learning Resources and Continued Education
Mastering the hip hinge is a journey, not a destination. Even experienced lifters continue refining their technique and discovering new insights about this fundamental pattern.
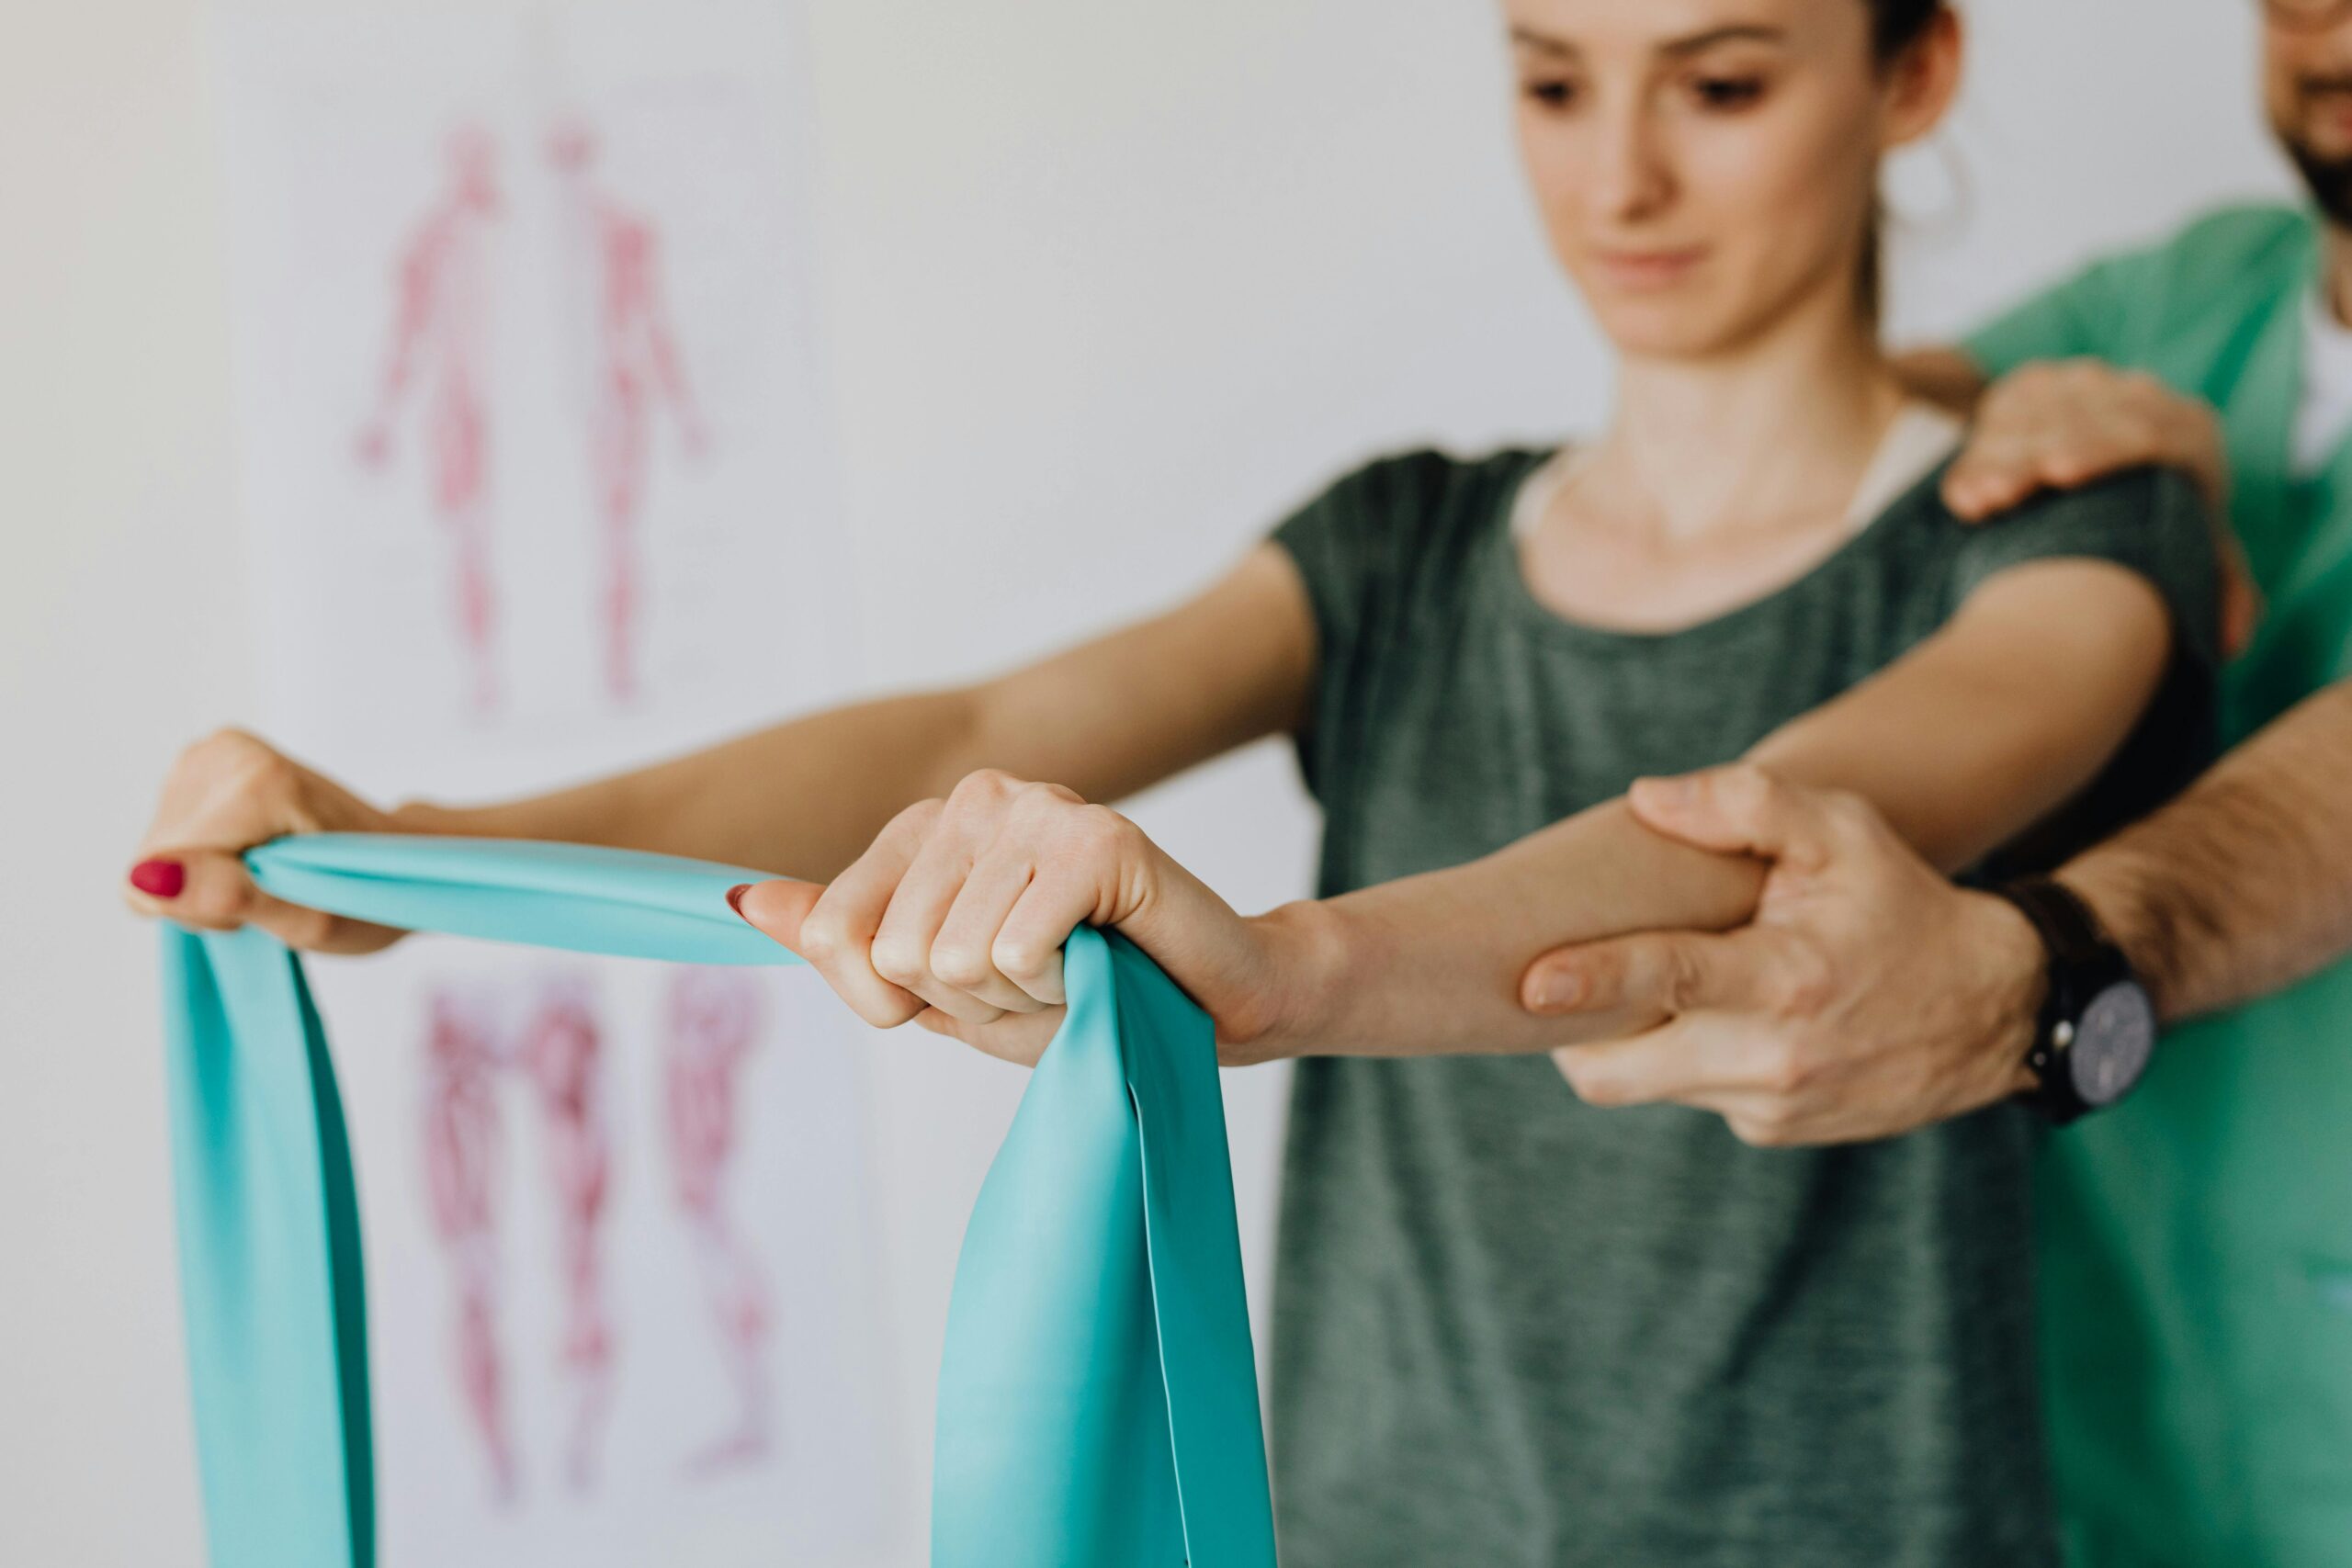
Consider working with a qualified coach or physical therapist for personalized feedback on your movement patterns. Video analysis can reveal subtle compensations that you can’t feel or see yourself. Sometimes a single coaching cue from an experienced professional transforms your understanding overnight.
Books like “Starting Strength” by Mark Rippetoe and “Becoming a Supple Leopard” by Kelly Starrett offer detailed technical breakdowns of hinge patterns and related movements. Online educational resources from reputable strength and conditioning organizations provide evidence-based information without the hype that dominates social media fitness content.
🚀 Taking Action: Your Hip Hinge Implementation Plan
Knowledge without application changes nothing. Commit to implementing what you’ve learned by following this structured approach to mastering your hip hinge over the next 12 weeks.
Weeks 1-4: Focus exclusively on bodyweight hinge drills. Perform wall hinges and dowel hinges daily, accumulating 50-100 perfect repetitions. Film yourself from the side to assess your spine position. No external load yet—just pattern development.
Weeks 5-8: Introduce light kettlebell deadlifts and Romanian deadlifts. Use weights that feel almost too light—you’re still prioritizing movement quality over load. Perform these exercises 3 times weekly for 3-4 sets of 8-12 repetitions.
Weeks 9-12: Progress load gradually while maintaining perfect form. Add single-leg variations and potentially introduce barbell deadlifts if your pattern is rock-solid. Begin experimenting with kettlebell swings for power development.
Throughout this process, remember that mastery is built through consistent, deliberate practice. Some days your hinge will feel effortless. Other days you’ll struggle with technique that felt automatic the day before. This is normal—your nervous system is adapting and sometimes needs to regress slightly before making leaps forward.
✨ The Long-Term Payoff of Movement Mastery
Investing time in learning proper hip hinge mechanics isn’t glamorous. It doesn’t produce the dramatic before-and-after photos that dominate social media. What it does provide is something far more valuable: the ability to move powerfully and pain-free for decades to come.
Your body is the only one you’ll ever have. Every movement you perform either deposits into or withdraws from your long-term physical bank account. Poor movement patterns are debt that compounds with interest, eventually manifesting as chronic pain, injury, and limitation. Quality movement patterns are investments that pay dividends throughout your life.
The hip hinge is one of the highest-return investments you can make in your physical health. It protects your spine during thousands of daily movements. It unlocks strength gains in the gym that ripple into improved athletic performance. It builds resilience that allows you to stay active and independent as you age.
Start today with simple awareness. Notice how you bend to pick things up. Catch yourself rounding your back and consciously choose to hinge instead. Film yourself performing a bodyweight hinge and honestly assess your technique. These small actions, repeated consistently, create profound transformation over time.
Your hips are designed for powerful, pain-free movement. By respecting their biomechanics and training proper hinge patterns, you’re simply allowing your body to do what it was built to do. The investment of time and attention required is minimal compared to the decades of benefit you’ll receive. Your future self will thank you for the work you put in today. 💪